
How to Measure an Opening for Replacement Windows
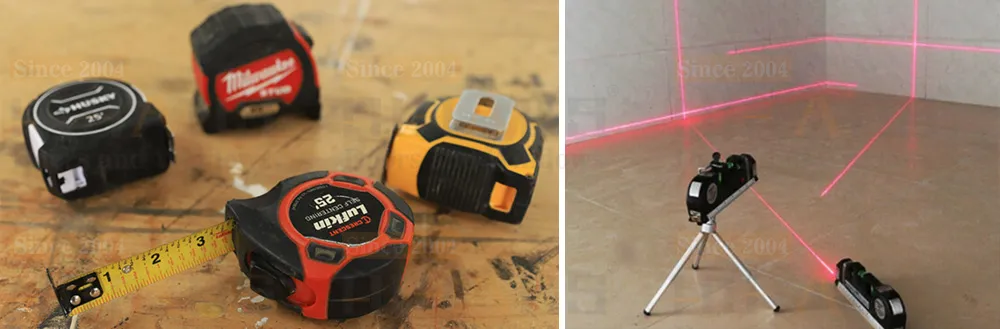
Most window fitting problems are measurement problems. A frame that arrives 8 mm too wide cannot be persuaded into an opening, and a frame that arrives 15 mm too narrow leaves a joint too large to seal well. The measuring procedure below takes ten minutes per opening and removes almost all of that risk.
What you need
- A tape measure long enough for the opening, with a true zero end.
- A spirit level, ideally 1,200 mm or longer.
- A pencil and a sketch of the elevation, with each opening numbered.
- A straight edge or laser level if the opening is in a rough wall.
Step 1: check the opening is square and plumb
Before measuring anything, put the level on both jambs and the head. If either is out of plumb by more than a few millimeters across the opening height, the frame will not sit flat and the gap will taper. Measure both diagonals as well: a difference beyond about 6 mm means the opening is out of square, and the frame either has to be ordered with a tapered packer detail or the opening has to be corrected first.
Step 2: width, at three heights
Measure the width at the top, the middle and the bottom, holding the tape parallel to the sill. Record all three. The order size is based on the smallest figure, because the frame has to fit the tightest point, not the average.
Step 3: height, at three positions
Measure the height at the left, the centre and the right, holding the tape vertical to the sill. Record all three, and again take the smallest. If the sill is not level, note the difference, because it determines whether a sub-sill or a sloping packer detail is needed.
Step 4: sill height above floor
Measure from the finished floor level to the bottom of the opening at three points. This matters for two reasons: it confirms the sill is level, and it sets the internal reveal so the finished window meets the floor and the trim consistently across a room.
Step 5: wall thickness and reveal depth
Measure the wall thickness at all four sides, three readings each. This determines the jamb depth the frame should be ordered at. Getting this wrong is the most common cause of a window that fits the opening but cannot be trimmed on the inside, or one where the frame sits proud of the external render.
Step 6: note what will change
Record anything that will alter the finished size after measuring: render or plaster to be added, tiles to be laid in a bathroom or kitchen, a new floor build-up. Note the expected thickness and direction. A 12 mm tile bed on a bathroom wall is 12 mm off the frame on each side, and it is the difference between a clean finish and a filler strip.
How to send the information
Send a numbered elevation sketch with the three readings per dimension, the wall thickness, the floor-to-sill dimension, and photographs of each opening taken square-on. With that package a factory can produce shop drawings that match the building rather than the ideal, and you get a chance to catch the four or five openings that need attention before anything is cut.
If you want the measuring sheet we use, or a video walkthrough of the procedure for your installer, ask and we will send it.
Need this checked against your project?
Send us your drawings or the code requirement — our engineers reply within 12 hours.