
How to Install a Casement Window
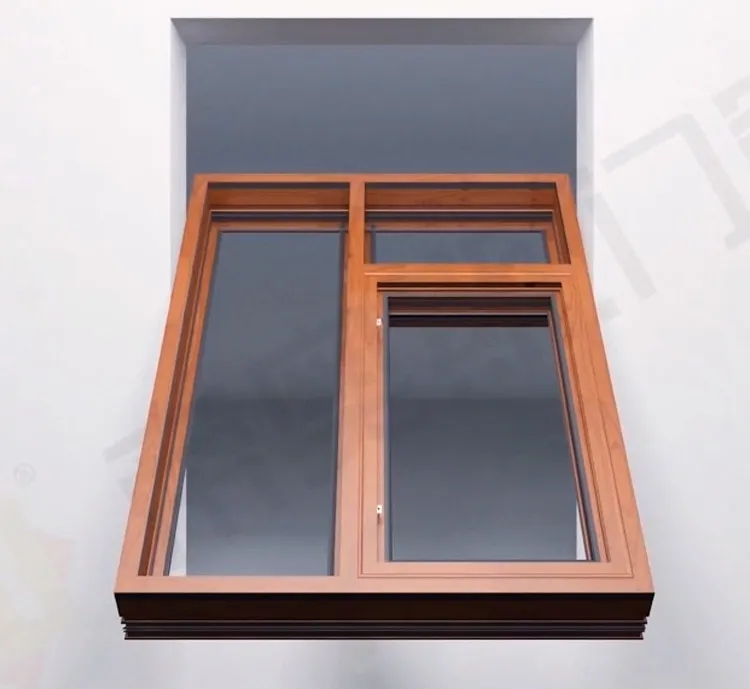
A casement window is installed in a sequence, and the sequence exists because each step constrains the next. Foam before fixing means the frame moves. Glazing before sealing means the rebate is contaminated. Hanging the sash before the frame is plumb means the lock will not line up and never will.
Preparation
Clear the opening of dust and loose material and confirm the dimensions against the shop drawing. Check that the frame is the right way up and that the drainage slots in the sill are open and on the exterior side. A frame installed upside down drains into the building, and it is a mistake that happens more often than anyone admits.
Steps
- Set the frame into the opening on temporary wooden wedges. New wedges, not offcuts, so the packing does not compress under load.
- Level and plumb the frame using a laser or a long spirit level, adjusting the wedges until the head, jambs and sill are true and the diagonals match. This is the step that decides whether the sash operates.
- Drill through the frame at the fixing positions and set expansion anchors, working from the corners inward and re-checking level after each pair. Overtightening the first anchor is what pulls a frame out of square.
- Apply low-expansion foam to the joint in passes rather than one fill, allow it to cure, then cut back the excess flush with the frame.
- Seal the joint inside and outside with a waterproof sealant over a backer rod, keeping the sill drainage path clear. Sealant applied over an uncured foam surface fails within a season.
- Fit the glazing gaskets, set the glass on setting blocks at the correct positions, and fit the beads or the frame retainer. Setting blocks belong under the glass at the quarter points, not at the corners.
- Hang the sash, connect the hinges, and fit the handle and the friction stay or restrictor.
- Fit the insect screen and its hardware, working from the interior outward.
- Test the sash through a full opening and closing cycle, confirm the lock engages without force, check the gasket compression line is continuous, and clean the site.
Three checks before you leave
First, the paper test: close the sash on a strip of paper at several points around the perimeter. If the paper pulls out freely anywhere, the gasket is not compressing there, and that is where water will enter. Second, the water test: direct a hose at the frame for a few minutes, from the exterior, and look for moisture at the interior reveal. Third, the operation test: the sash should close with two fingers and latch with one hand, and it should still do that after twenty cycles.
The detail most installers skip
The sill. Water that reaches the sill has to leave the assembly, so the exterior sill must fall away from the frame, the drainage slots must be unobstructed, and the sealant must not bridge across them. A perfectly installed frame with a blocked sill drain will leak in the first storm, and the leak will be blamed on the window.
We ship an installation guide with every order and can provide a video walkthrough for your crew if the units are a new system for them.
Need this checked against your project?
Send us your drawings or the code requirement — our engineers reply within 12 hours.